
Image Optimization
CacheFly's Smart Image Optimization service is an efficient and secure solution for image processing, enabling dynamic transformation and optimization of your images. Performance and user experience can thus be enhanced as the images are transmitted to users via your CacheFly service.
The image optimization functionality is split into three categories:
Advanced Features offer the dual advantage of refining content distribution network (CDN) behavior and optimizing interactions with clients requesting images, thus providing a sophisticated layer of customization and efficiency.
Image Operations provide precise control over image presentation, ensuring that each image is displayed exactly as intended, enhancing both aesthetic appeal and functional alignment within your digital content.
Image Filters are applied after Image Operations and serve to adjust the image's aesthetic properties without altering its visible dimensions.
These can be invoked through two different methods:
For the most commonly used functionality, predefined transforms provide simplified, consistent image processing by defining uniform transformations in the configuration, triggered via specific paths for a library of images.
For all functionality, dynamic transforms offer the highest level of flexibility for real-time image processing and content adjustment through an URL syntax, requiring your application to define transformations.
Scroll the graphics in this step horizontally to see all the screens.

Using Image Optimization
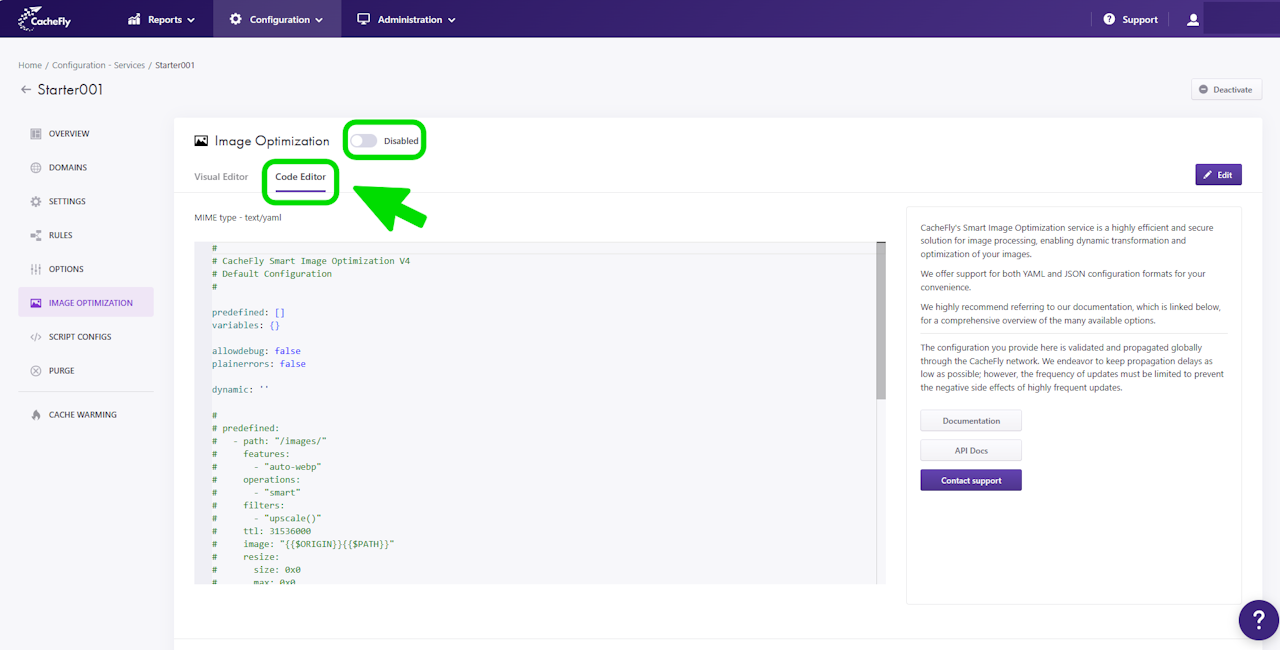
To use image optimization for a given service, first navigate to that service (Configuration > Services > [SERVICE NAME]).
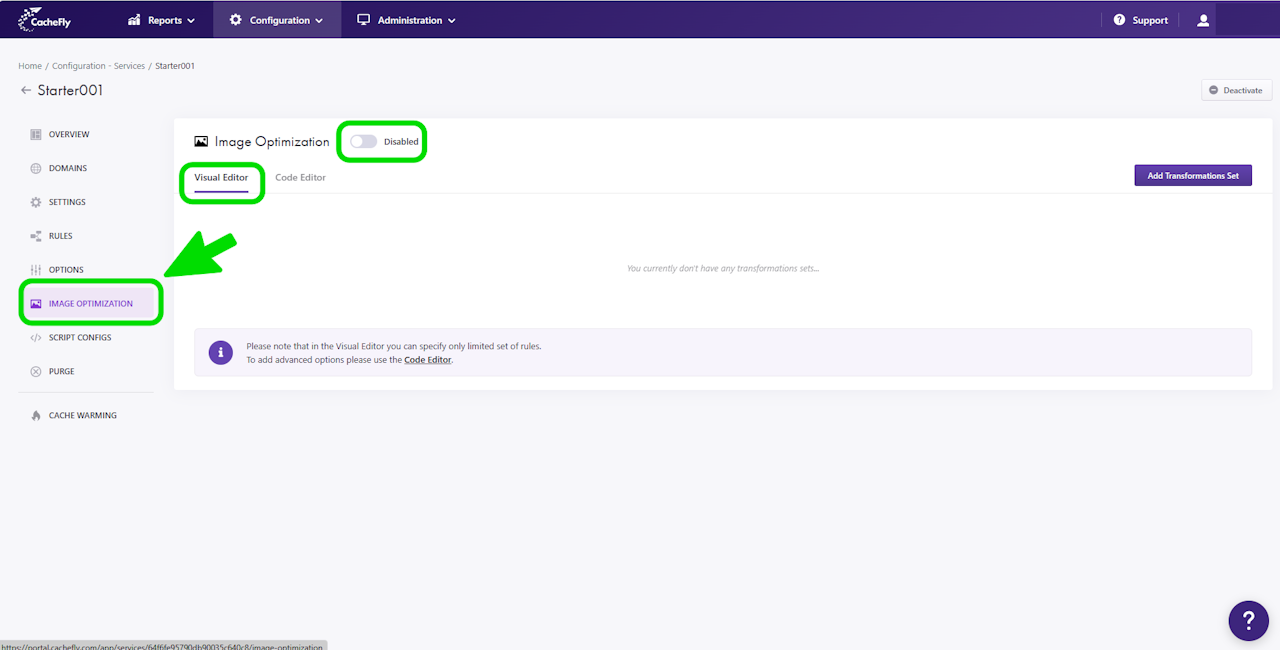
On the left of the screen, click on IMAGE OPTIMIZATION to display the initial image optimization screen.
If the button/toggle to the right of the mention Image Optimization displays Disabled, then you can enable it as follows:
Click on the button/toggle labeled Disabled
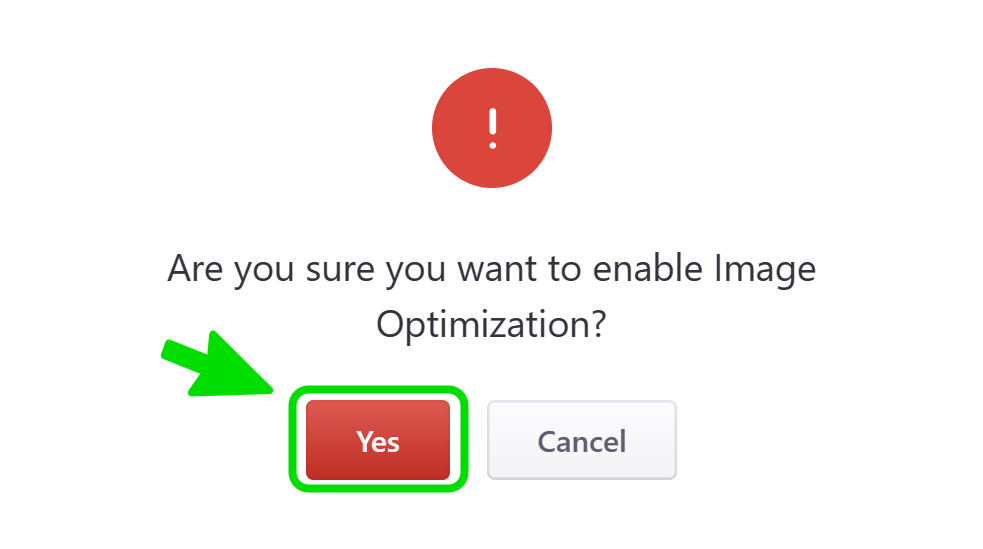
A popup window is displayed asking you to confirm your choice
When you click on the red button Yes, the button/toggle will display Enabled and will also turn from gray to blue. A confirmatory message is also displayed briefly at the top right of the screen.
To configure image optimization, click on one of the two links underneath the mention Image Optimization:
EITHER
Visual editor to specify quickly and conveniently a limited set of rules for image optimization (Predefined Transforms)
OR
Code editor for advanced image optimization options (Dynamic Transforms, as well as Predefined Transforms.)
Scroll the graphics in this step horizontally to see all the screens. Click one of the buttons below for the next step in this guide.

